High-Fragrance Flowers for Mother's Day »
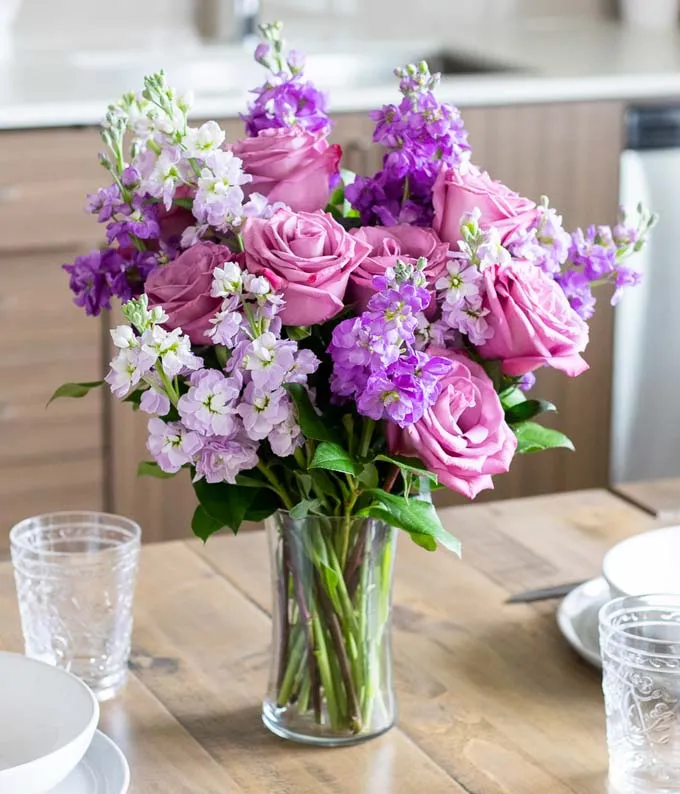
It’s no secret that Mother’s Day is one of the most popular days of the year for flower deliveries. What better way to show your love and appreciation for the most important women in your life than with a fresh delivery of sweet-smelling flowers?
Date: April 3, 2024
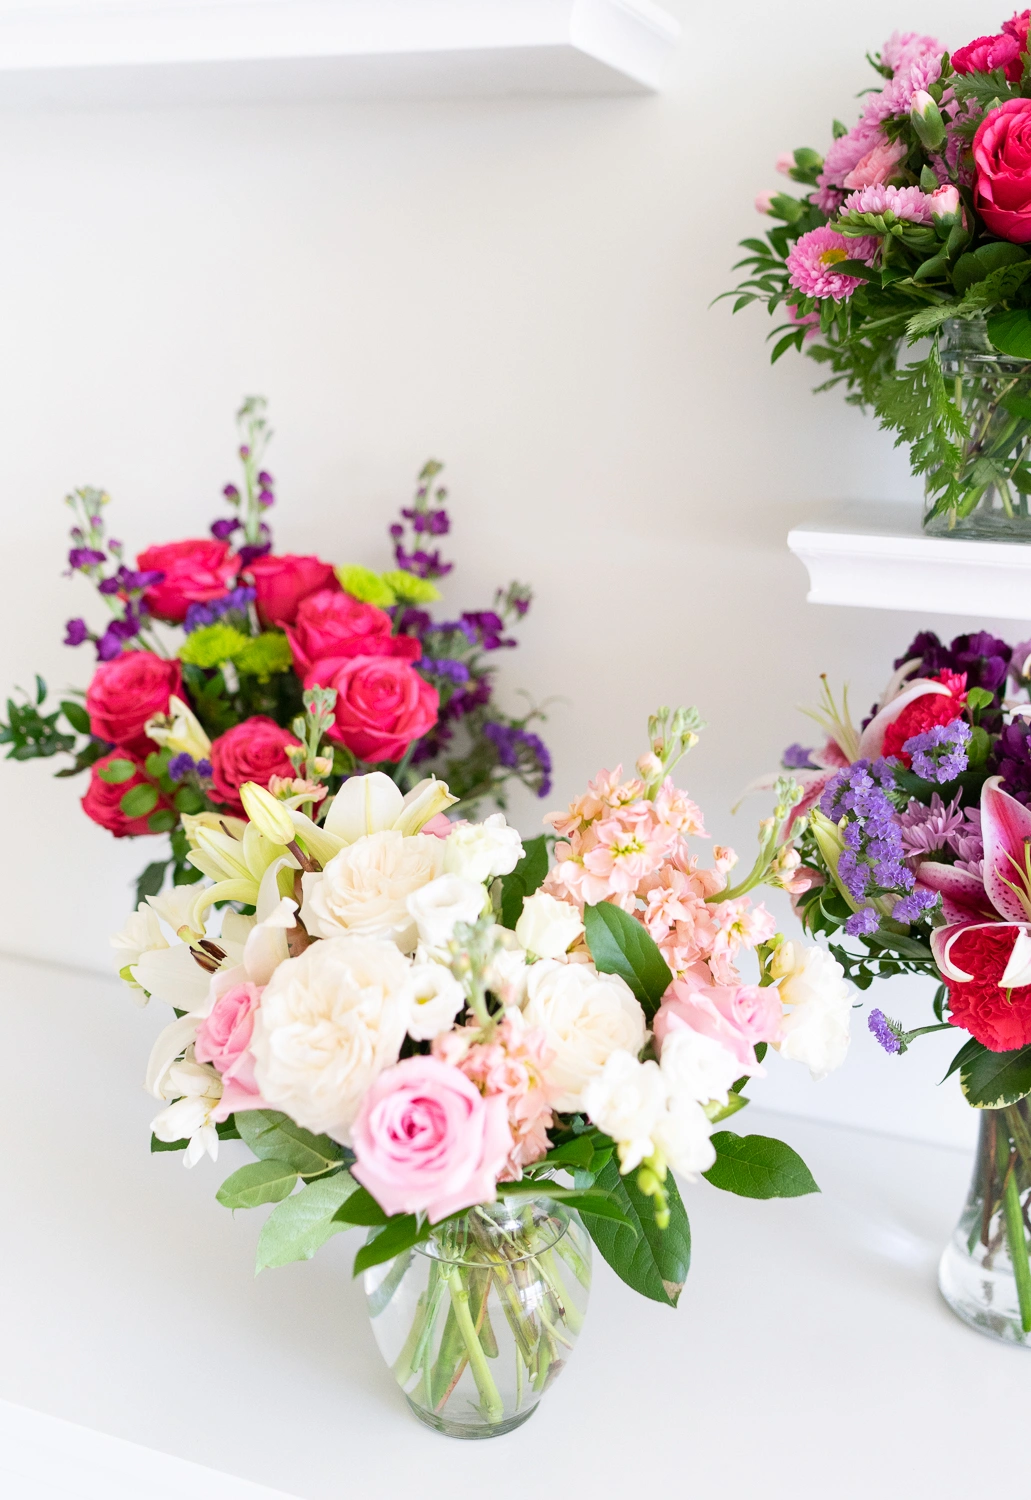
What are the top Mother's Day flowers? If you have someone special in your life, you want to provide flowers to, but nothing but the truly best flowers are good enough, check out some recommendations.
Date: March 22, 2023
A Guide to Buying Yourself Flowers »
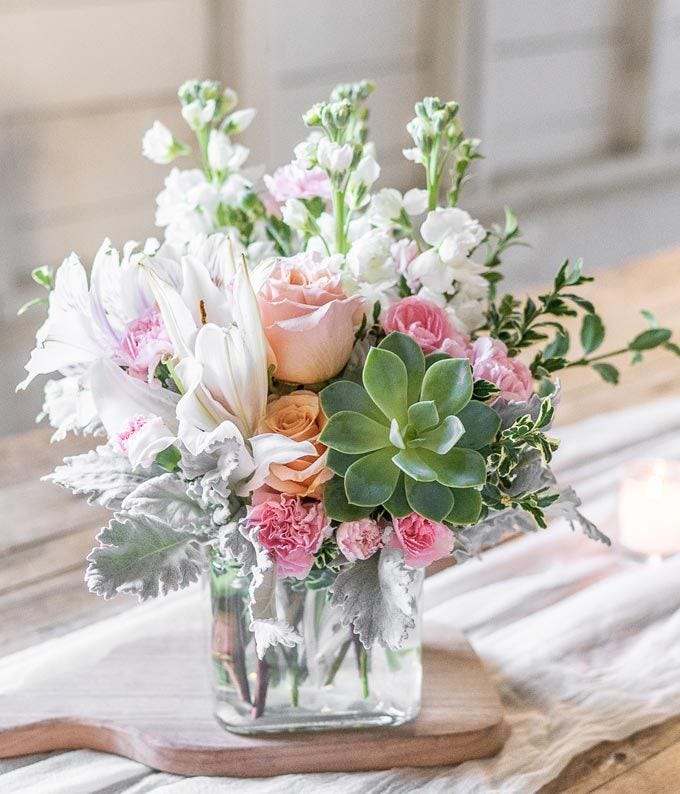
Why not buy yourself flowers? You know what you like. You work hard and are reinvigorated with the beauty of a bouquet of flowers in your home.
Date: February 14, 2023
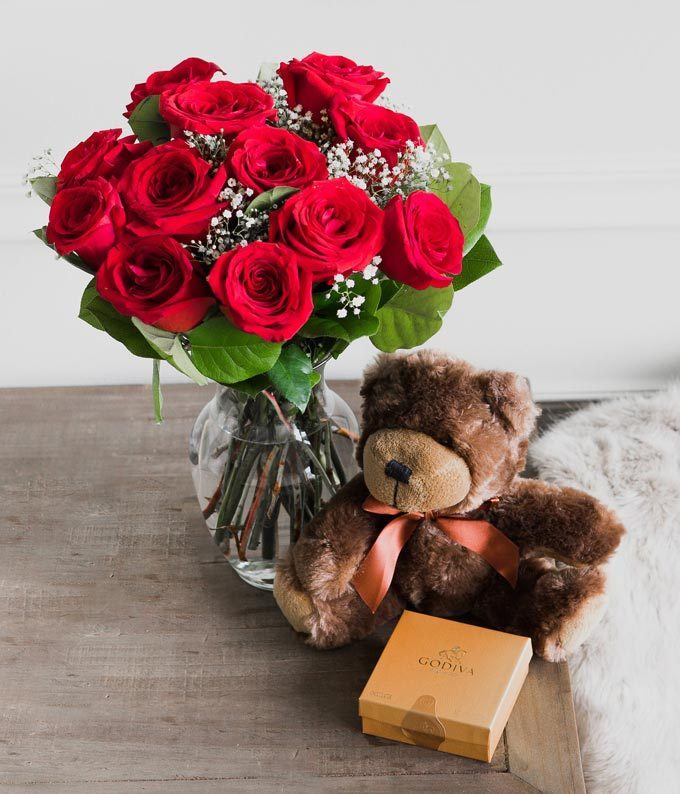
Last Minute Valentine's Day Gifts »
Did you put off setting up Valentine’s Day gift delivery for your loved one? Do you want to give that special person in your life something that is truly beautiful or unique? The good news is it does not have to be a challenge to do so.
Date: January 30, 2023
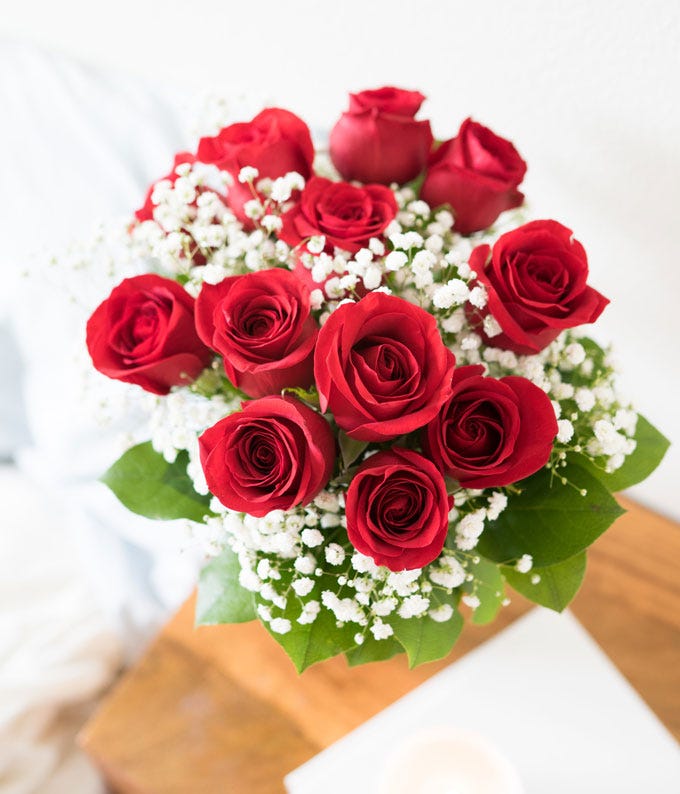
Choosing the Perfect Rose for Your Valentine »
There is nothing more symbolic of love and passion than red roses. That could be why they are a must for those looking for the perfect Valentine's Day gift. Valentine's roses can be much more than just a single bouquet of a dozen beautiful roses, though.
Date: January 19, 2023